1- We recommend to install Putty from the link below which is a free open-source terminal program.
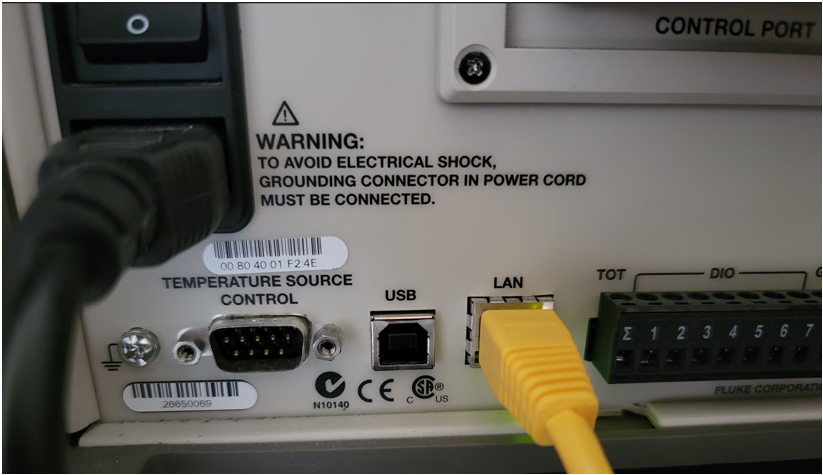
2- Connect the internet cable from your network to the LAN port on the back of the 1586A.
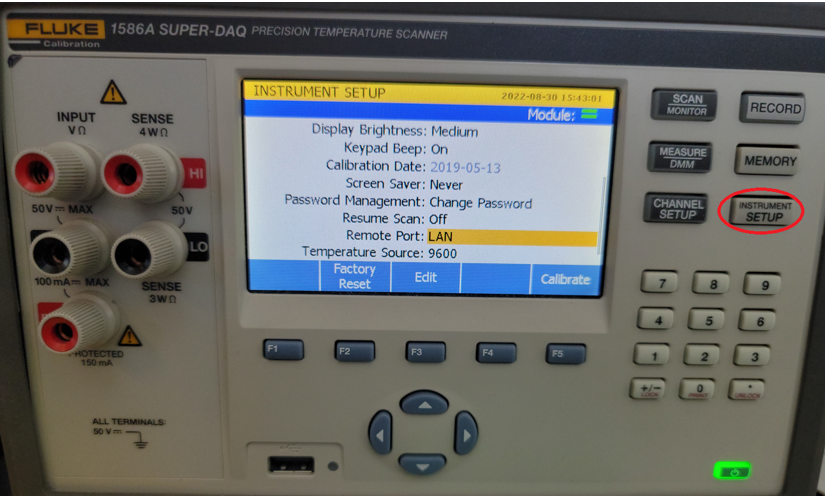
3- On the 1586A click on “INSTRUMENT SETUP” and scroll down until you find “Remote Port”, and if the screen is showing “USB” you need to change it to LAN by clicking the “Edit” button F3.
4- Your network should have assigned an IP address now, and if for any reason you do not see an IP address check your network connection or you can also turn the unit off for a couple of minutes and then turn it ON again and check if the IP address is showing now.
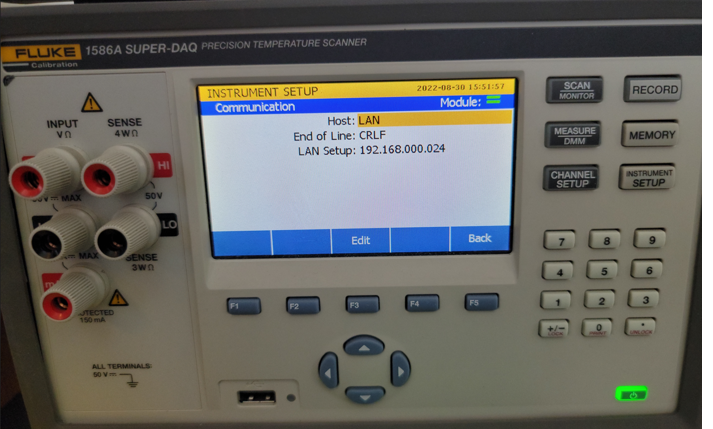
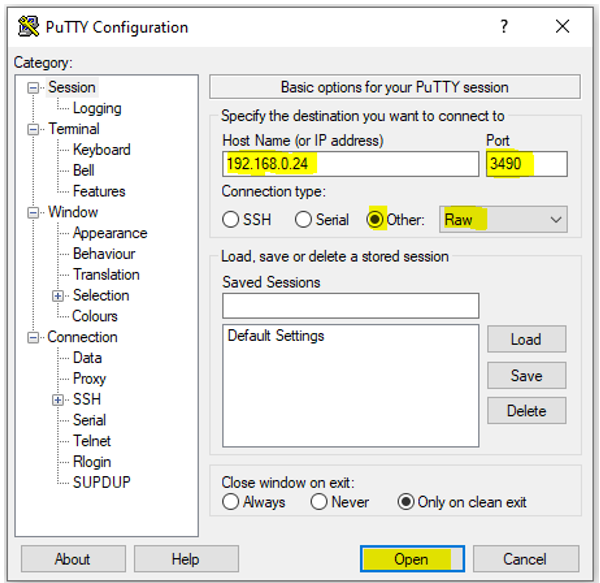
5- Launch Putty, and because the 1586A does not have a username and password use the default port 3490 and under connection type select “Other” and “Raw”. Type the IP address and do not type the zeros in front of the numbers or if there are 000 only type one 0 (see below). Now click “Open”.
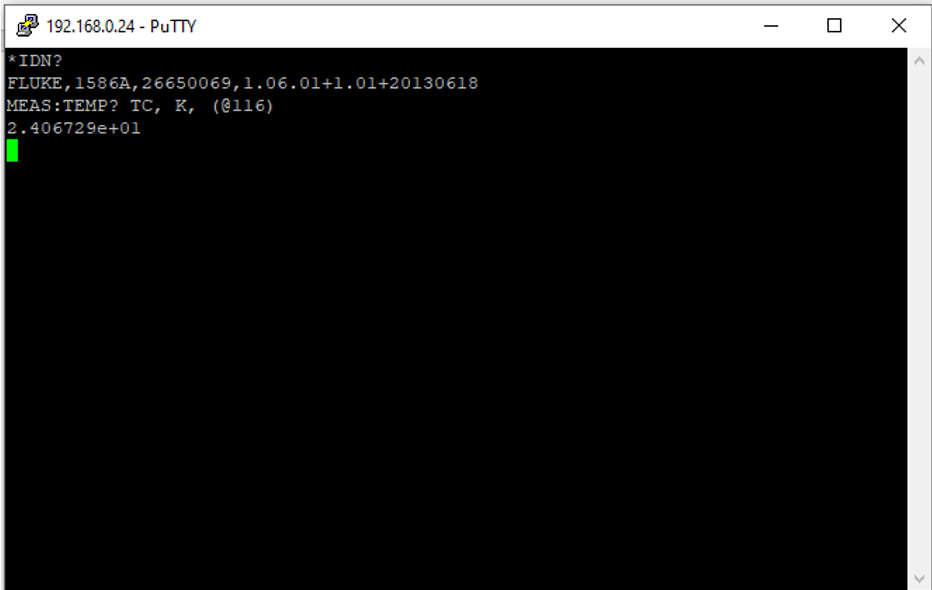
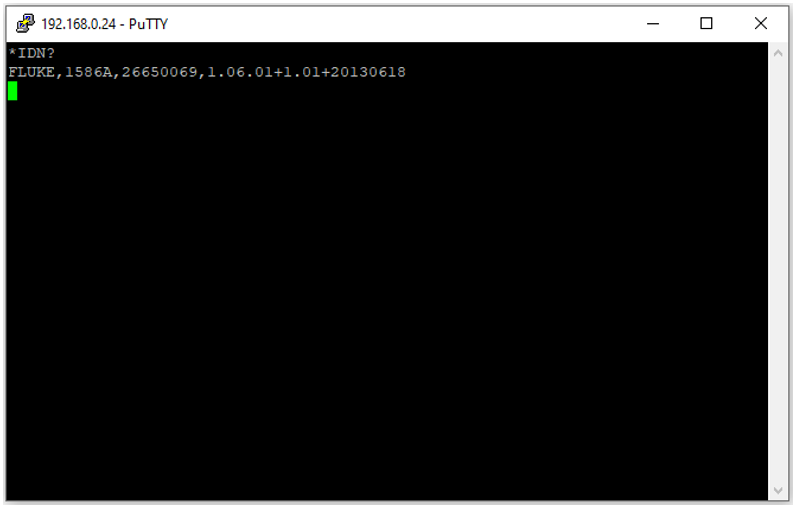
6- Type the command *IDN? and then click “Enter”, and if everything was properly setup the 1586A will respond indicating the model, serial number, etc.
7- Now you are ready to send other commands that are listed in the Programmers guide. For this example, a TC type K is connected to channel 116 and the below command is requesting to read the temperature from this channel.